Folding Hakama

2021-07-21

Bosco Gurin

Beginner's Guide

If you wear a hakama in Aikido, you should also be able to put it together correctly. The procedure is not easy. With this description, beginners can also practice a bit at home.

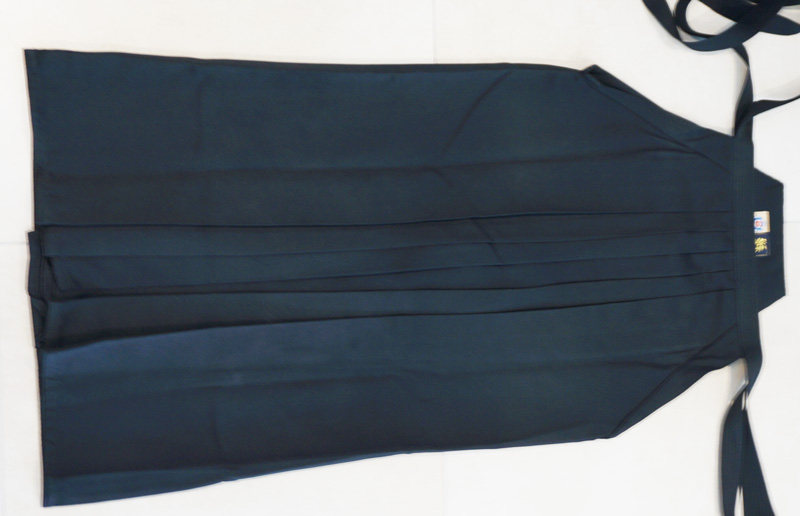
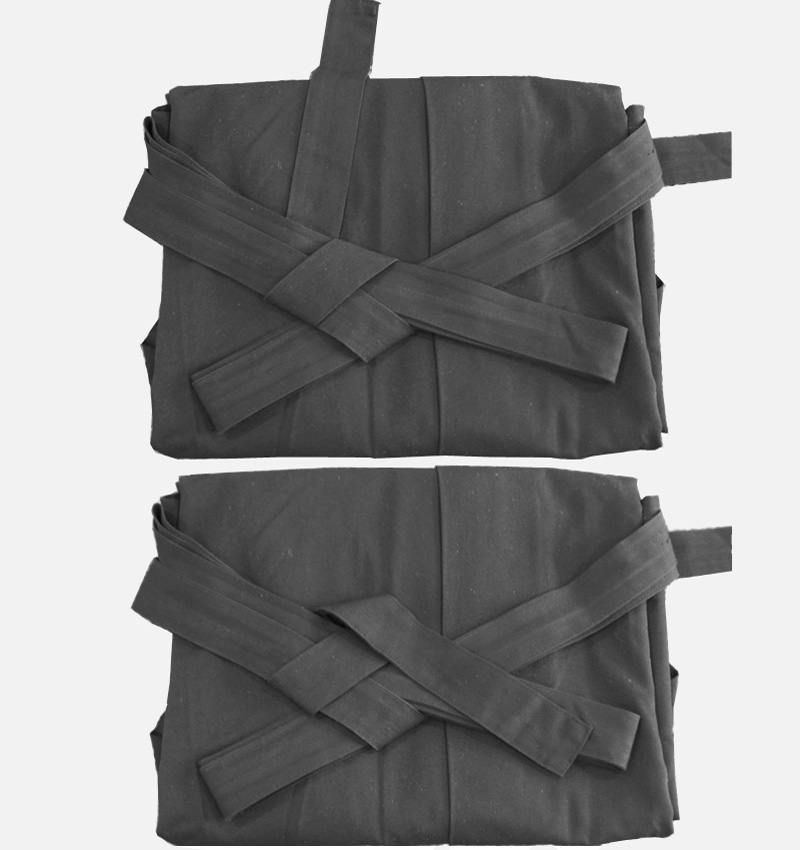
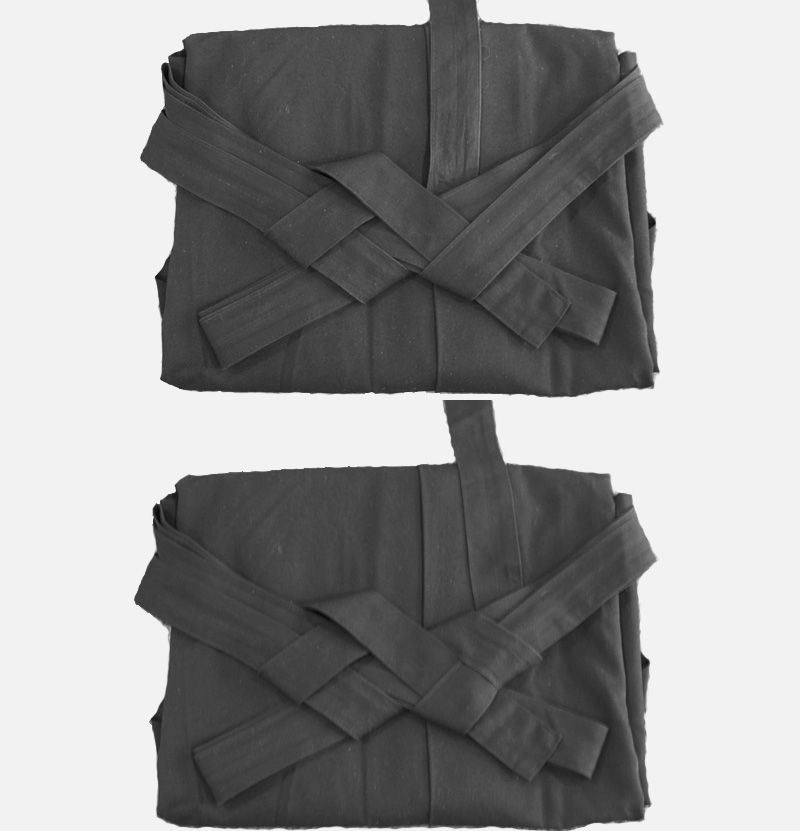
1 Pleats on the backside

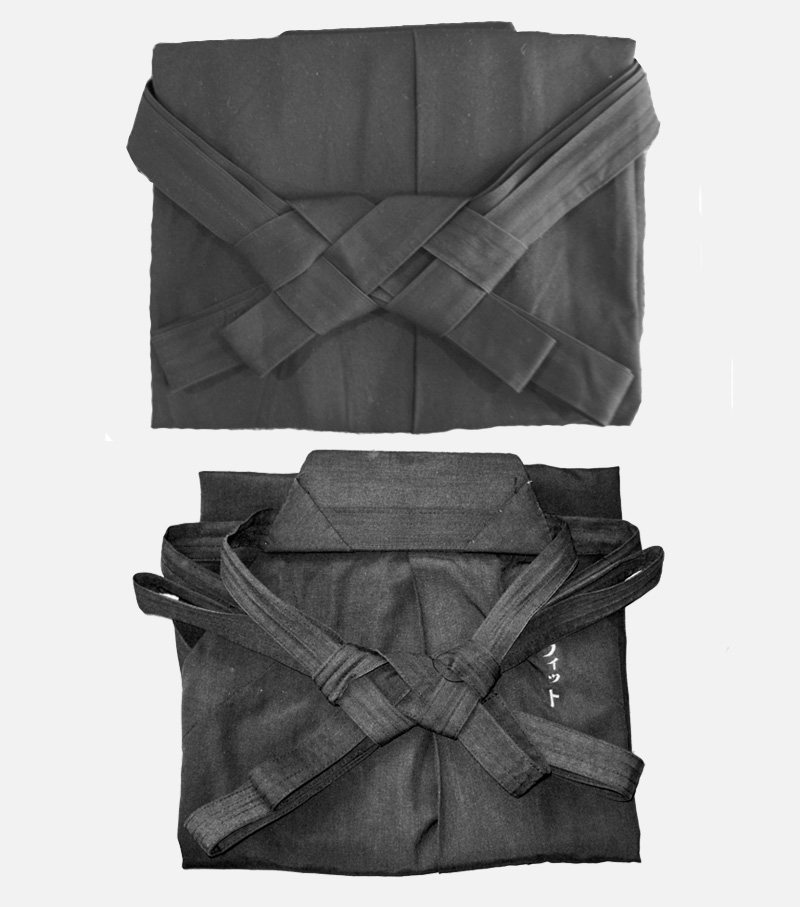
Place the hakama with the frontside on the mats. The pleats on the back must be aligned first. At the back shield (koshi-itai) you see how the pleats belong on top of each other. Grasping the koshi-itai with one hand and the foot end of the hakama with the other allows allows you to stretch the fabric. So, the pleats get more straight.
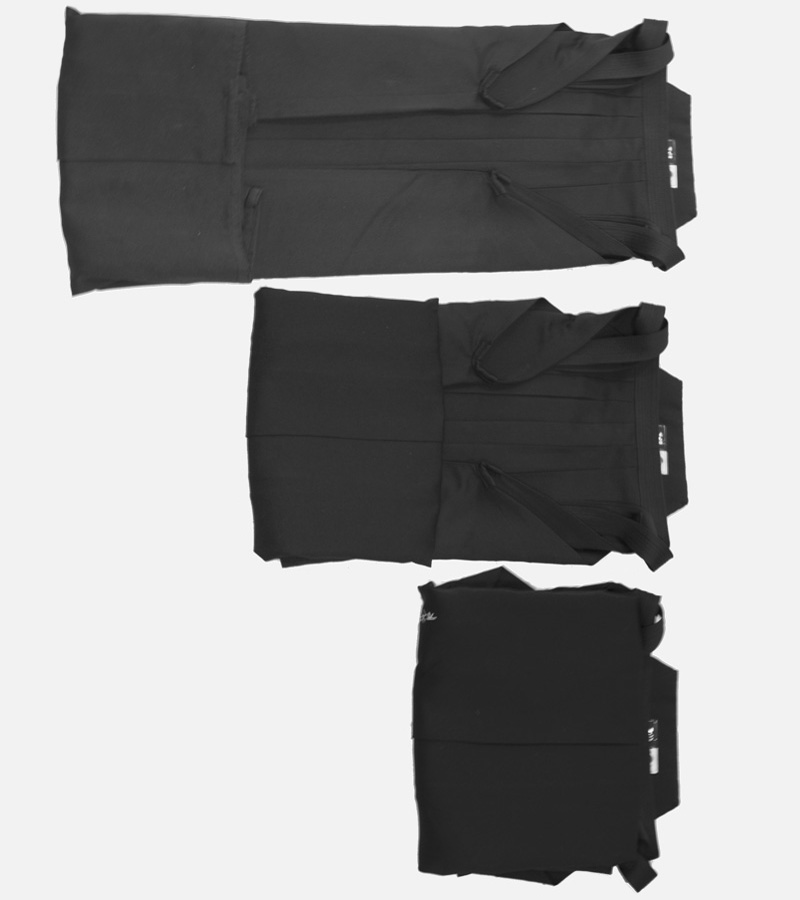
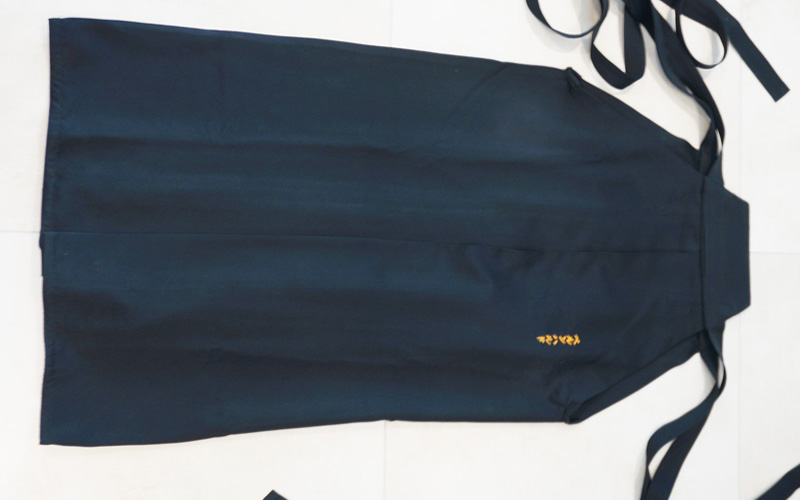
To turn over the hakama on the other side you grasp it in the middle of the foot end with both hands. In this way the pleats remain together. Swing it over so that it comes to lie on the back.

2 Pleats on the frontside

The pleats on the front are then still slightly apart. They have to be neatly aligned from the inside to the outside. The attachement of the pleats on the upper waistband shows how they belong next to each other and/or on top of each other. The edge of the hakama is formed by the lateral seams.

3 Putting ties together in an easy way

If you do not want to do the elaborate interweaving of the ties, you can now lie them along the pleats on the hakama and then fold the side parts of the hakama inwards.

4 Fold Hakama

The hakama is now folded from the bottom. Place the edge of the hand at the bend and fold the fabric with the other hand.
For sizes from about 170 cm you fold three times. This results in a total of four layers of the hakama. Traditionally, the hakama is flapped only twice, resulting in three layers.


Weaving the bands

The variant with interwoven bands looks more beautiful and holds the garment well together.

5 Folding the long bands

The long bands are brought to a quarter of their length by folding them twice. They are placed diagonally in front over the folded hakama.
Usually you start on the right and then put the left long bands over it.

6 Weaving left short band

Place the left short band over the long band coming from the right and lead it upwards under the crossed long bands.

7 Finish left short band

Then put the left short band over the two bands coming from the left keeping them together in this way. Pass under the bands and let it come out upwards.
Then you can place it to the right over the long band coming from the left.

8 Right short band

Analogous to the left short band, the right short band is first placed over the bands coming from the left.
Under all the bands, it is guided upwards in the middle.
From there, it is placed on the right over the bands coming from the right and keeps them together.
Thus, the end of the left short band is fixed by the right short band.
To finish with the right short band, it is placed on the opposite side under the left short band.
If the band is too long, it can be wrapped a little so that it does not protrude too far out of the braid.

9 The completely folded Hakama

The upper hakama in the picture is folded three times (four layers), the lower one only twice (three layers). As a result, the bands may come to lie on the front or respectively on the back. The first hakama is made of synthetics, the second is made mainly of cotton.
For transport, the hakama is best placed in a separate hakama bag.
Traditionally, in Japan, all garments were carefully folded and stored in drawers. Hangers were not used.

Note:
The braid can be easily opened if you pull at the two proper ends at the same time.


Bosco Gurin